




Thank you for buying the NF Series.
Every part we deliver is part of the story of modular furniture that grows and changes with you.
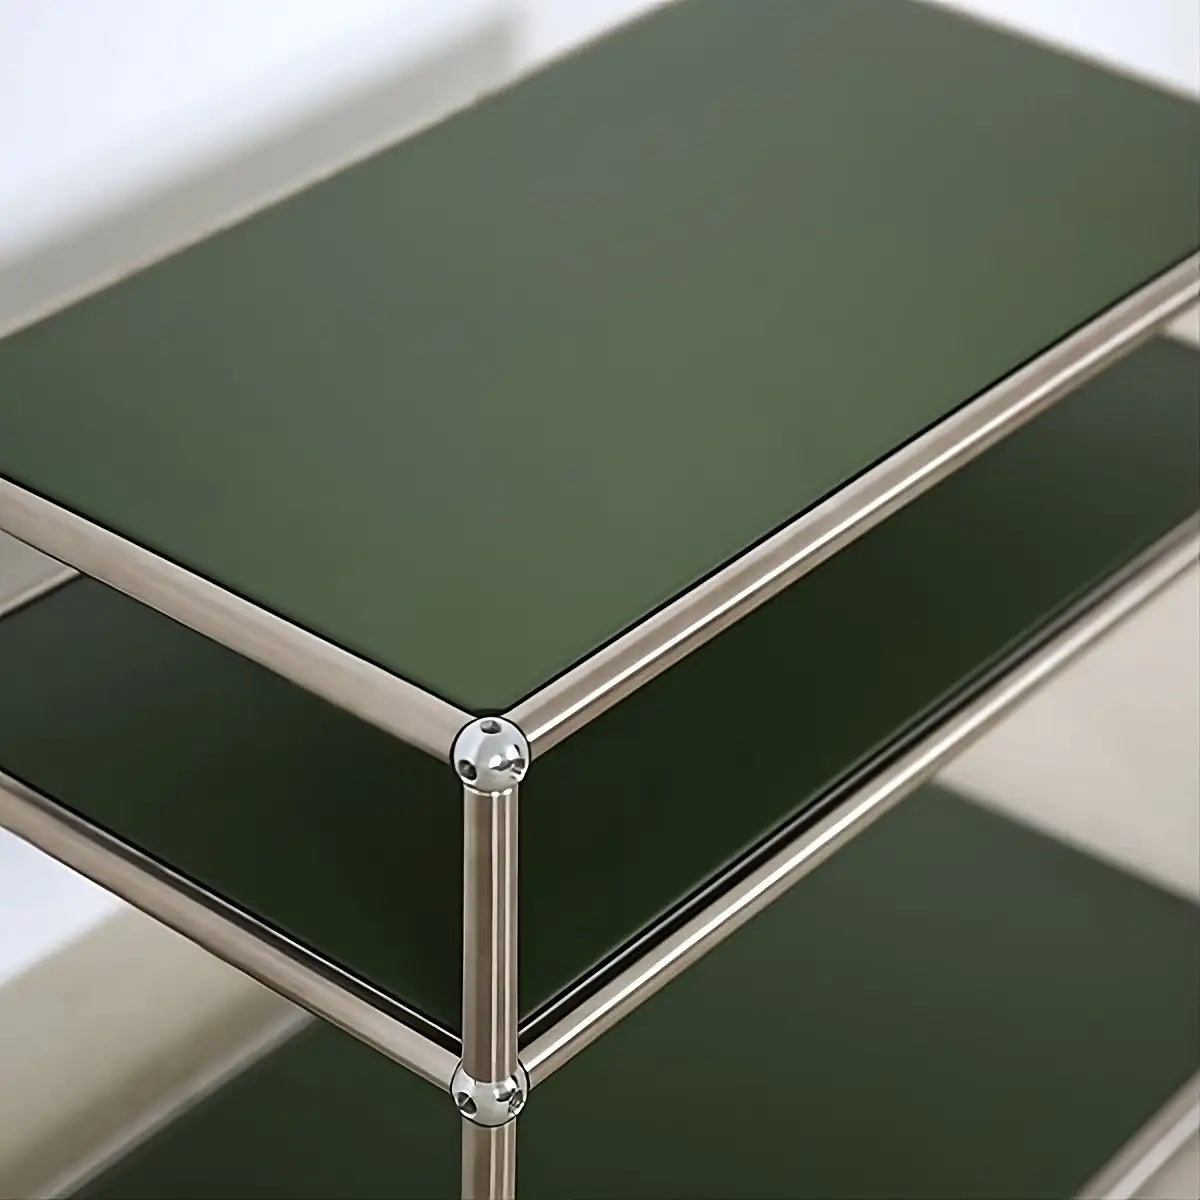
Frames, panels, connectors: all are made with careful design and clear intent.
Depending on how you combine them, they become a side table, a desk, shelves or system furniture.
Shape it freely to fit your life and your space.
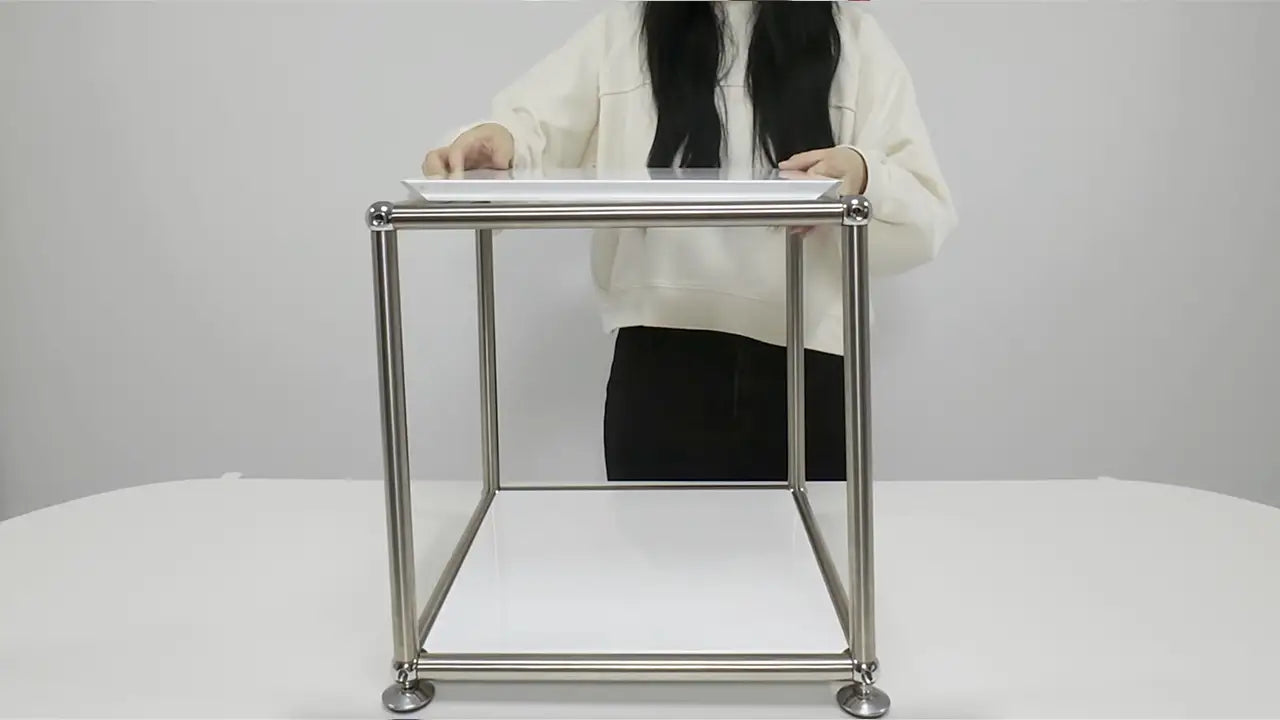
Start here — your first NF Series setup.
This video shows step by step how to connect the frame and panels.
The only tool you need is the included wrench. Nothing else. Stress-free, anyone can assemble it easily.

Prepare the parts
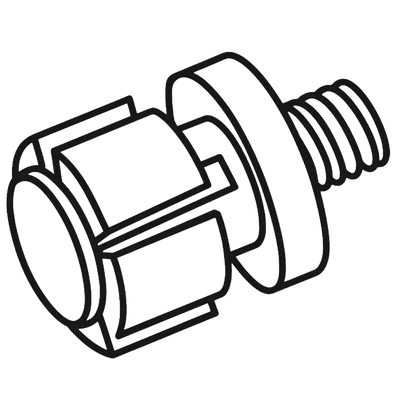
Insert an insert into a connector and turn it by hand to attach it.

Prepare the parts
Take another insert and attach it so they form a “<” shape. Make 2 of these. (Parts needed: connectors x2, inserts x4)

Connect the pipes
Take a different connector and screw it onto the thread of a pipe by hand.

Connect the pipes
Take another pipe and attach it to form an L shape. Make 2 sets in total. (Parts needed: connectors x2, pipes x4)
Pipe lengths vary by design.

Build the frame
Attach the connectors from steps 1,2 and the pipes so that each sits diagonally opposite.
*If an insert won’t go into a pipe, turn it clockwise with the wrench key and try again.

Build the frame
レンチキーを反時計回りに回して、インサートを挿入した4箇所全て締める。

Build the 2nd tier
Take 4 pipes, point the threaded ends down and screw them into the connectors by hand.
*Pipe lengths vary by design.

Build the 2nd tier
Build another frame following steps 1-6, and fit inserts in the 4 downward-facing places on the connectors. Then attach it to step 7.

Final tightening
Turn the pipes by hand to check they are firmly tightened. Then tighten all the insert points counterclockwise.

Fit the panels
Panels snap in easily when pressed from above.

A sturdy design that holds heavy loads
Each panel holds 15-20kg, so you can even put heavy appliances or a TV on it.
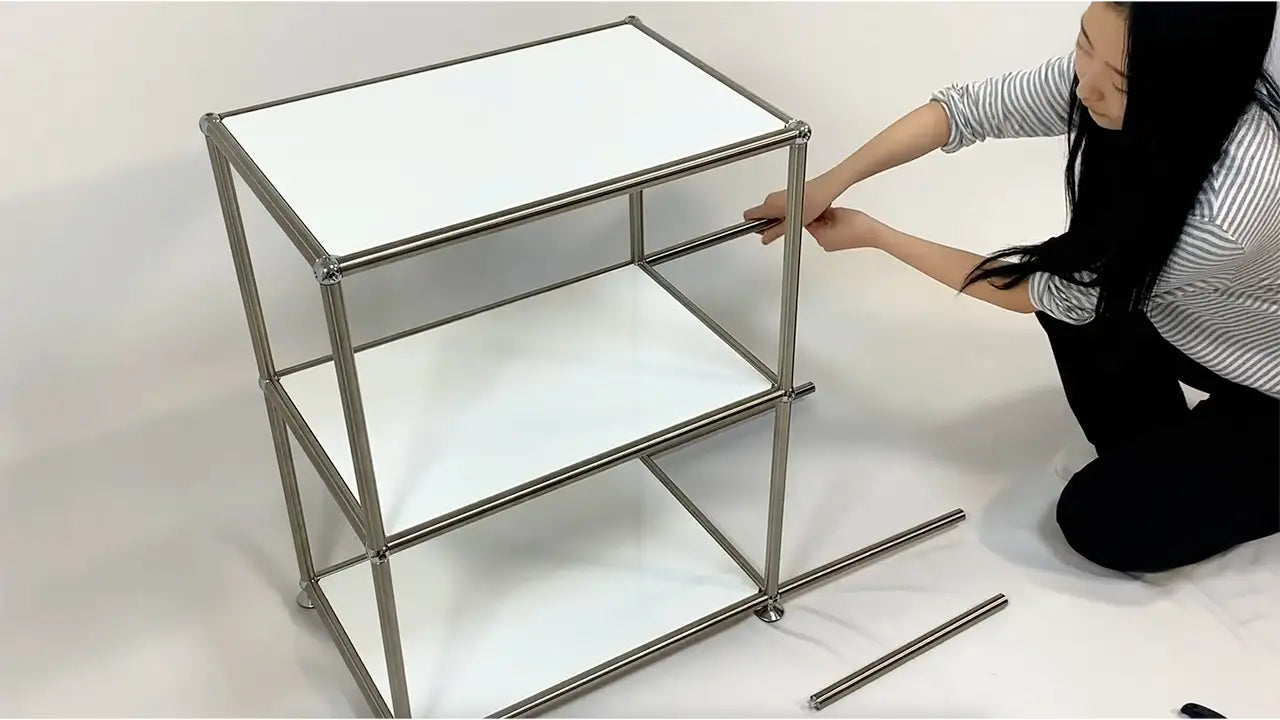
Expand Upward — Build Higher with NF Series
Here we show how to extend upward.
Adding 1 or 2 more tiers on top is easy to assemble. Pipes between shelves come in 4 lengths, so you can customize it to suit your use and situation.
The video also shows how to extend sideways.

Extend upward
Take 4 pipes.
Pipe lengths vary by design.

Connect the pipes
Insert each pipe with its threaded end facing down and tighten by hand.

Connect the pipes
Attach all 4 in the same way.

Build the frame
Build a frame and set downward-facing inserts in the 4 corners.

Connect it to the unit
Place the new frame so that it fits onto the 4 pipes, and push it in by hand.

Connect it to the unit
Turn the wrench key counterclockwise to tighten all 4 places.

Connect it to the unit
Press the panels in from above.

Done
Upward extension complete!
You can keep adding 1 or 2 more tiers from here. Pipes between shelves come in 4 lengths
Your Instruction manual
Assembly diagrams for each shape

NF Series 350 2x1

NF Series 350 3x1

NF Series 350 3x1 ½

NF Series 520 2x1

NF Series 520 3x1

NF Series 520 3x1 ½

NF Series TV SHELF

NF Series 350 4+3x1 SB

NF Series 350 4D USB
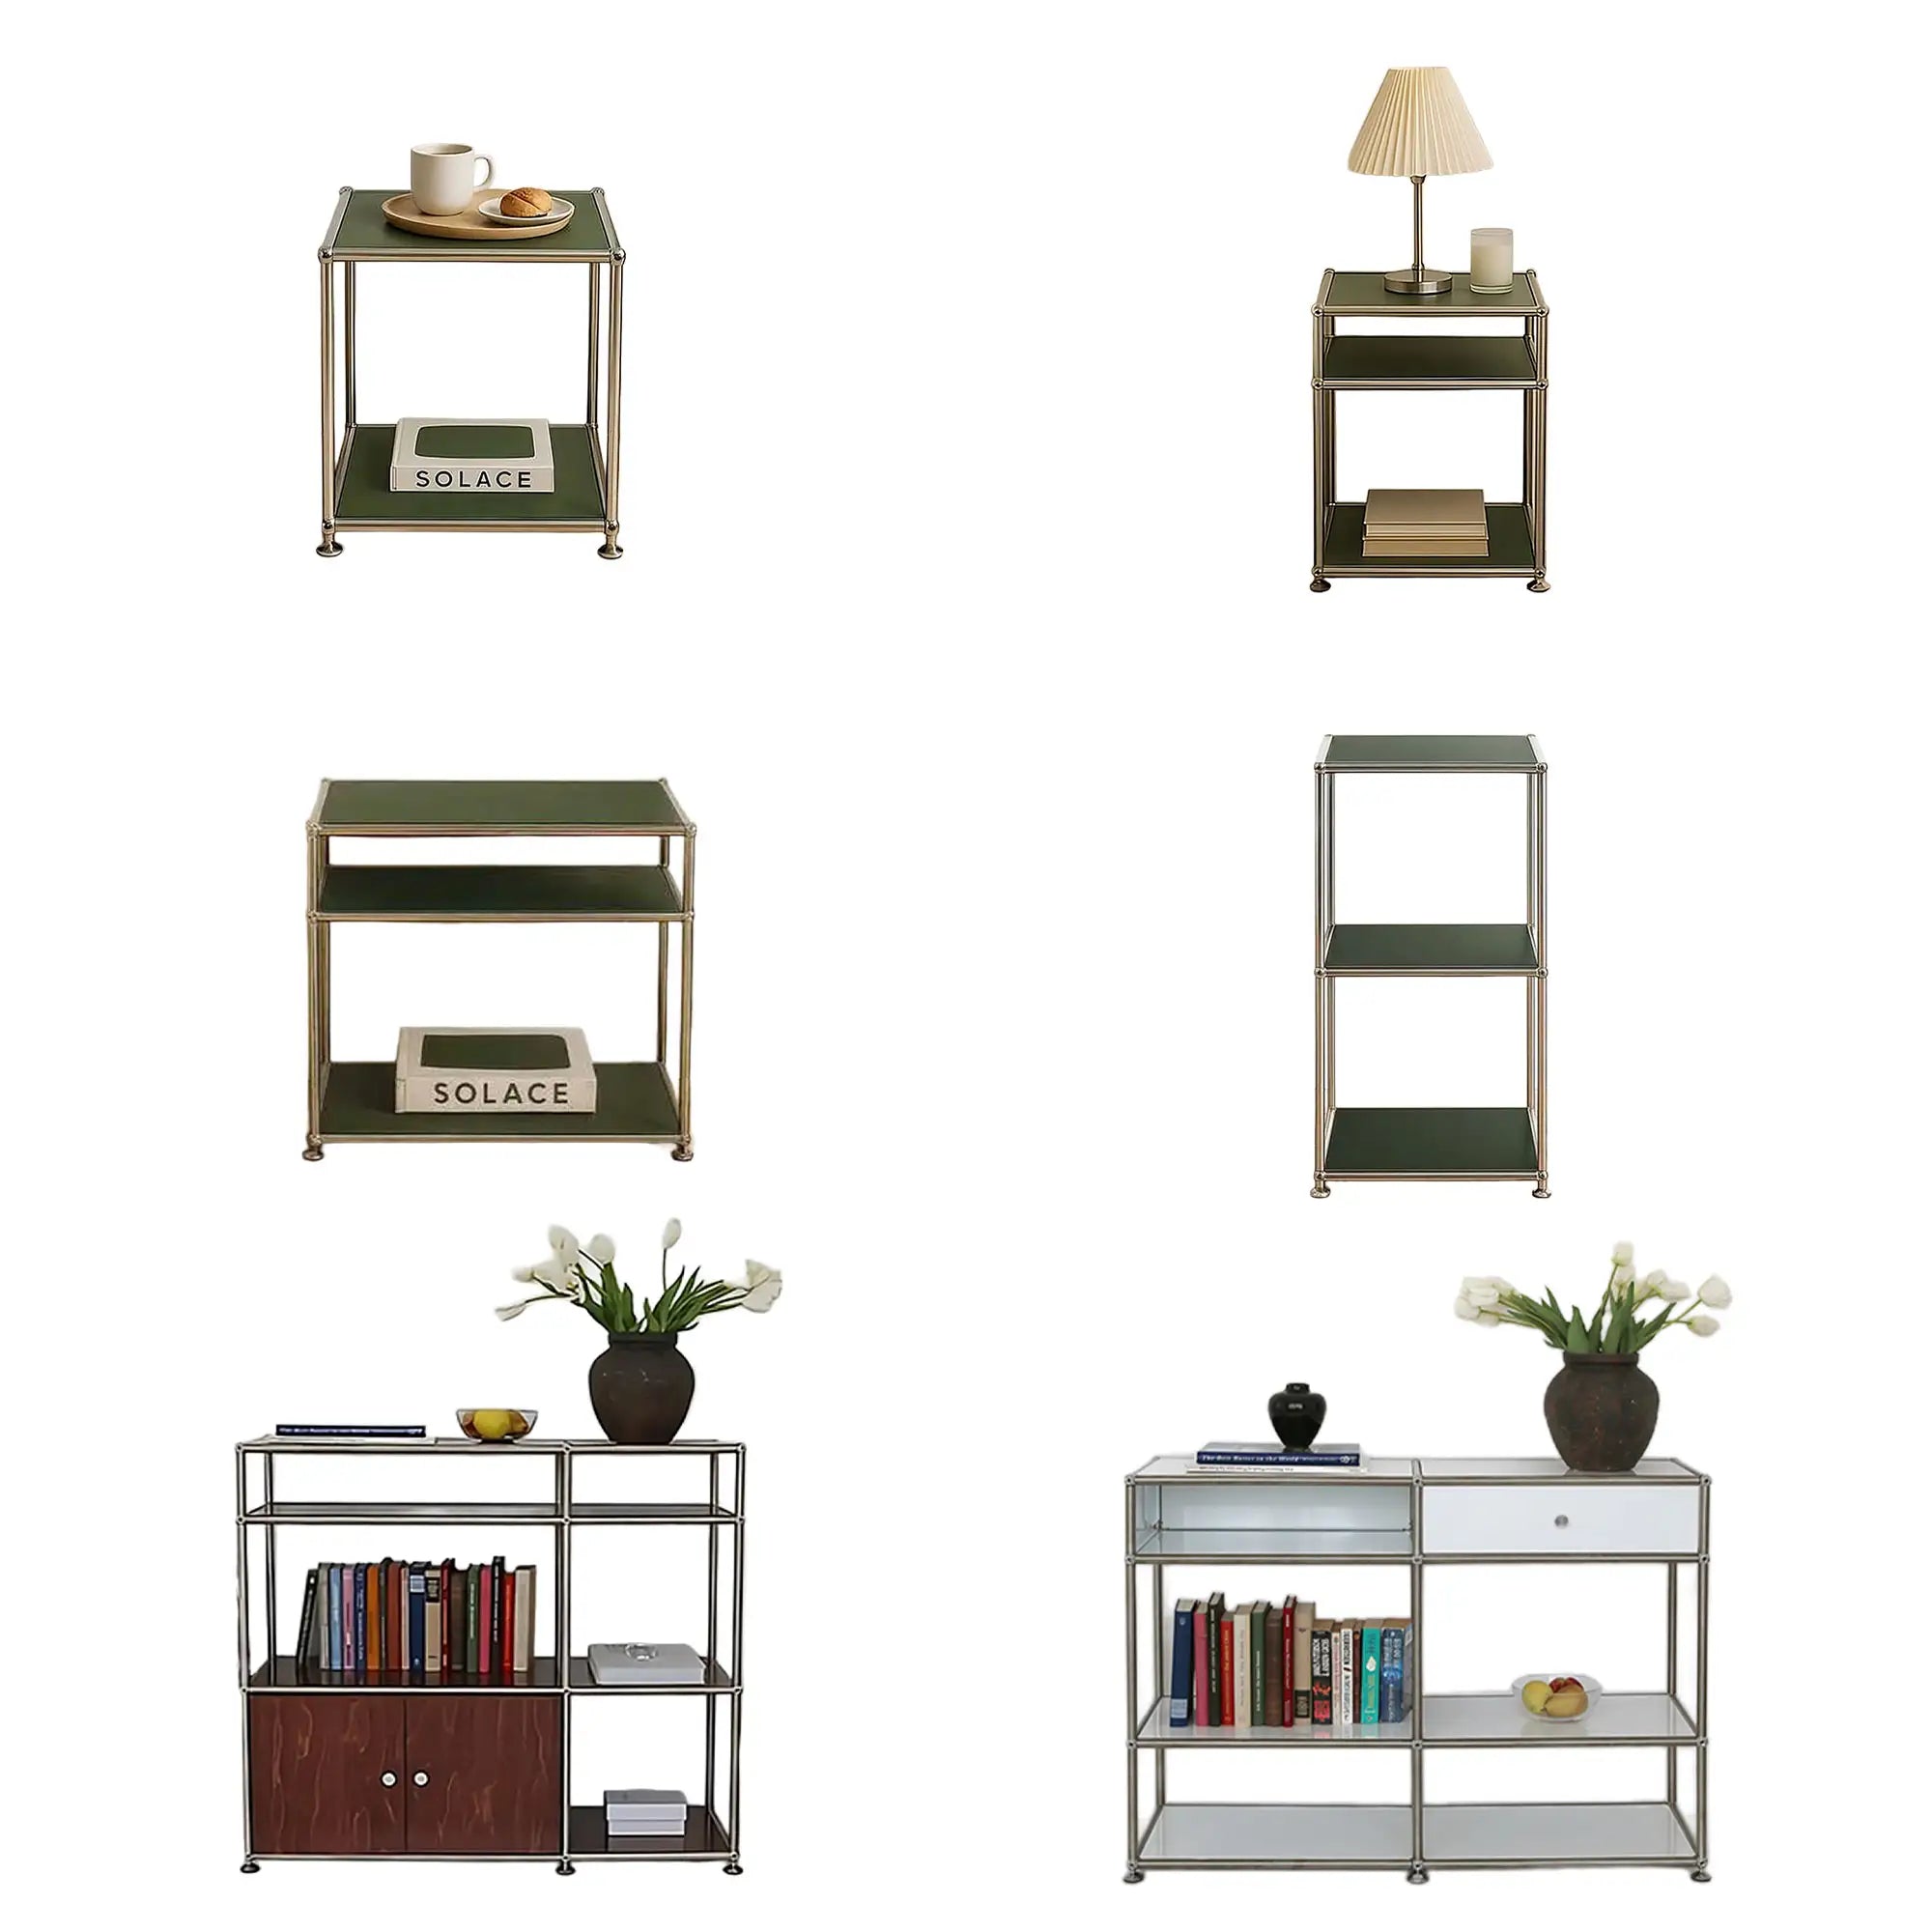
Use Forever
Add panels in the colors you like and, as needed, extend or reduce it without taking it apart.
Parts can also be bought individually.
Instead of replacing old furniture, reconfigure the parts you already have to reduce waste, be kinder to the environment and get the most value.
Your Questions, Answered.
What if an insert won’t go into a pipe?
What if an insert won’t go into a pipe?
If an insert won’t go into a pipe, loosen it a little with the wrench key.
The tip of the insert opens and closes, locking it in place inside the pipe.
If it’s hard to insert, the tip may be open; loosen it and try again.
What if an insert spins freely?
What if an insert spins freely?
If an insert spins freely when connecting it to a connector, use the wrench key to connect it.